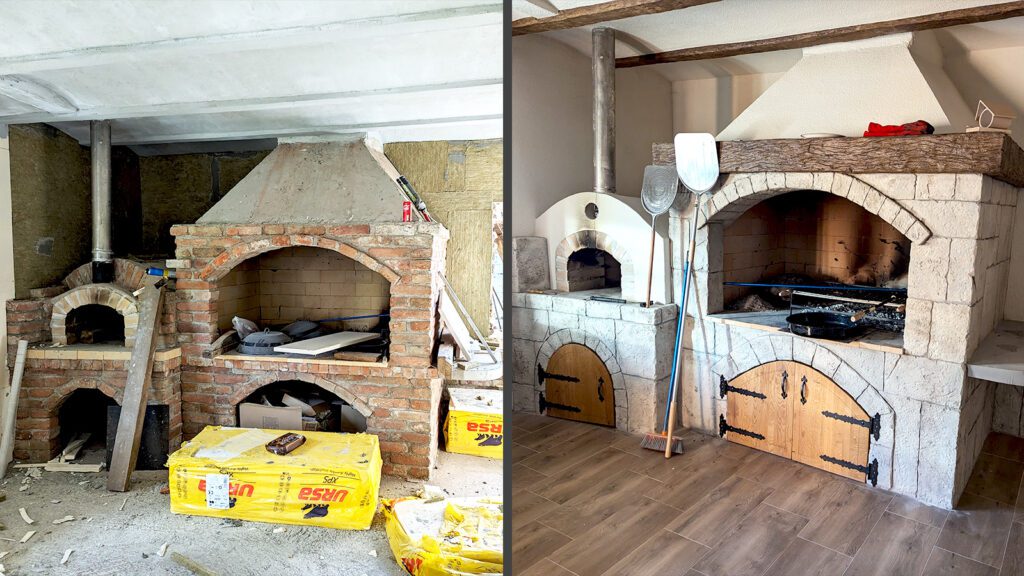
Renovation of the Brick Kiln – Transformation into a Stone Kiln
Renovating and remodeling a brick oven to look like it was made of stone brings a number of benefits: it increases the aesthetic value and fits better into contemporary and rustic spaces. Our construction company specializes in such projects, and in this blog we will describe the steps we took to recently transform a brick oven into a roasting oven that was built to look like our Dalmatian rocks, thus contributing to the rustic aesthetics of the space.
Why renovate a brick oven?
- Aesthetic reasons: Old brick ovens often look worn and ungainly. Remodeling gives them a new look.
- Adaptation to space: To better fit into the space or landscape.
- Longevity and functionality: With a new layer and additional protection, the stove gains better resistance to external influences.
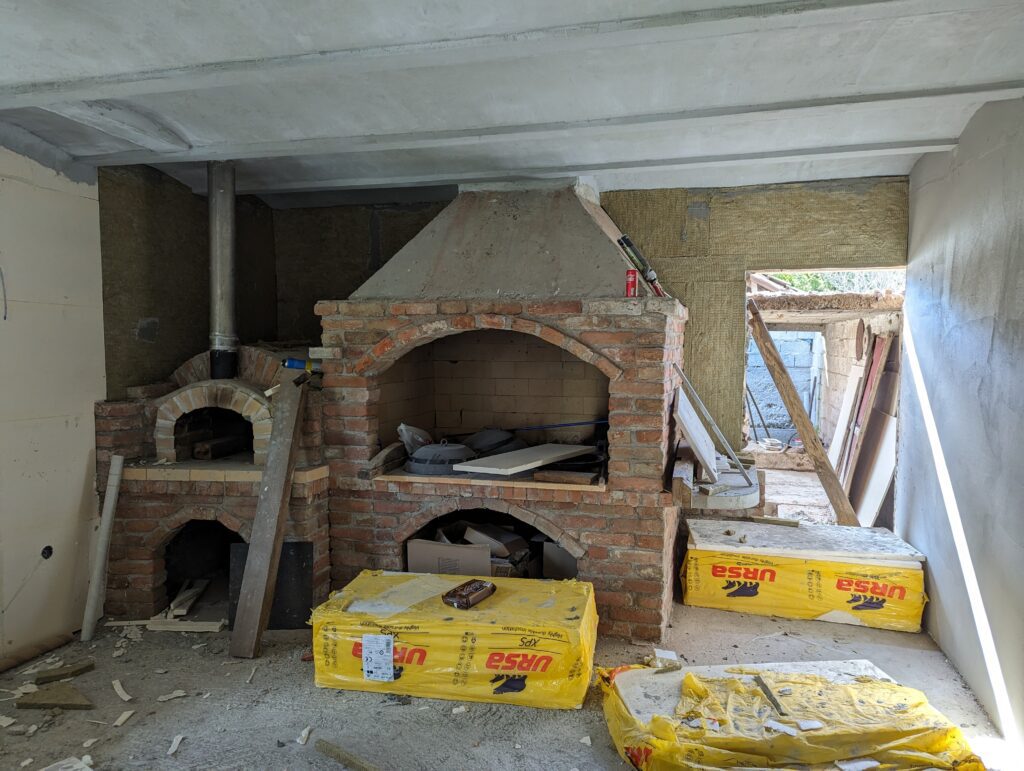
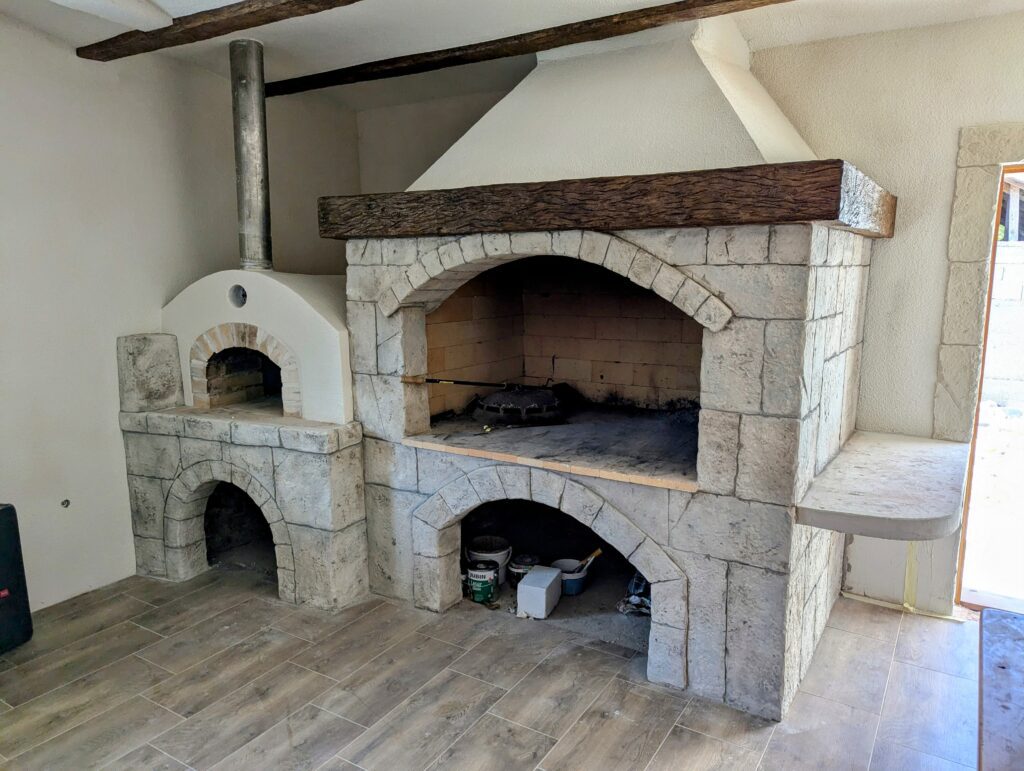
The renovation process - Step by step
1. Cleaning the brick
Every project begins with a thorough cleaning of the original structure. The brick kiln is thoroughly cleaned to remove dirt and imperfections. This ensures that the plaster and other materials adhere well.
- Cleaning tip: use a wire brush to help remove mortar bits and other dirt on the brick
2. First coat – applying rough plaster
After cleaning, a rough plaster is applied to the stove to create a base for further layers. This layer allows the mesh and other materials to bond.
3. Putting on the mesh
A mesh is placed on top of the rough plaster, which further ensures the stability of the entire structure and helps prevent cracking.
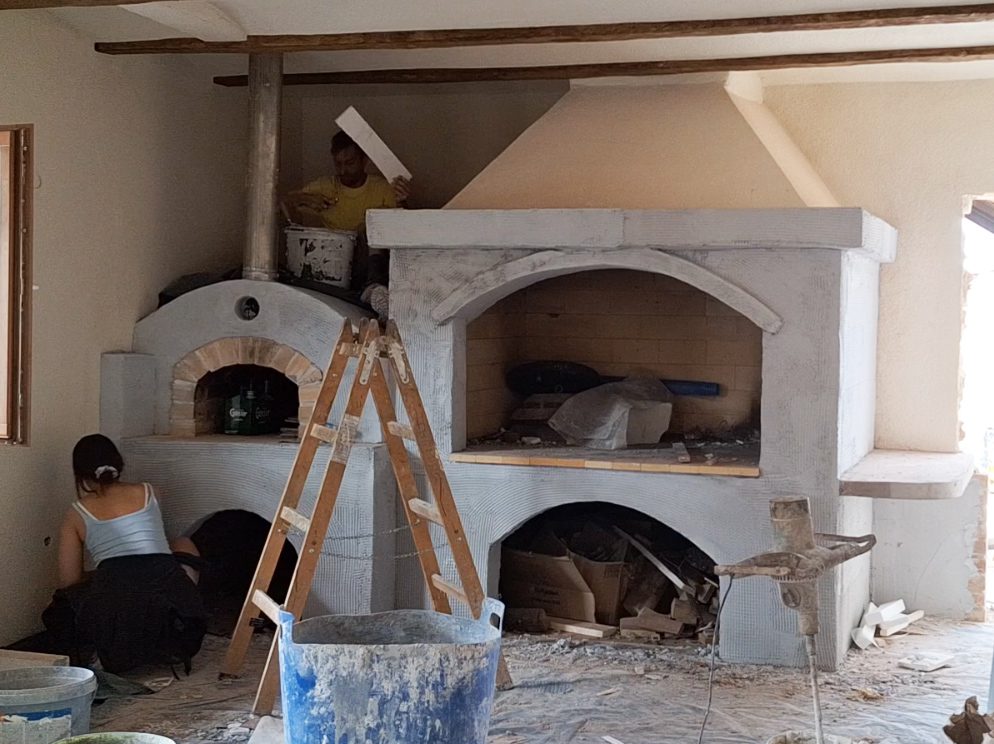
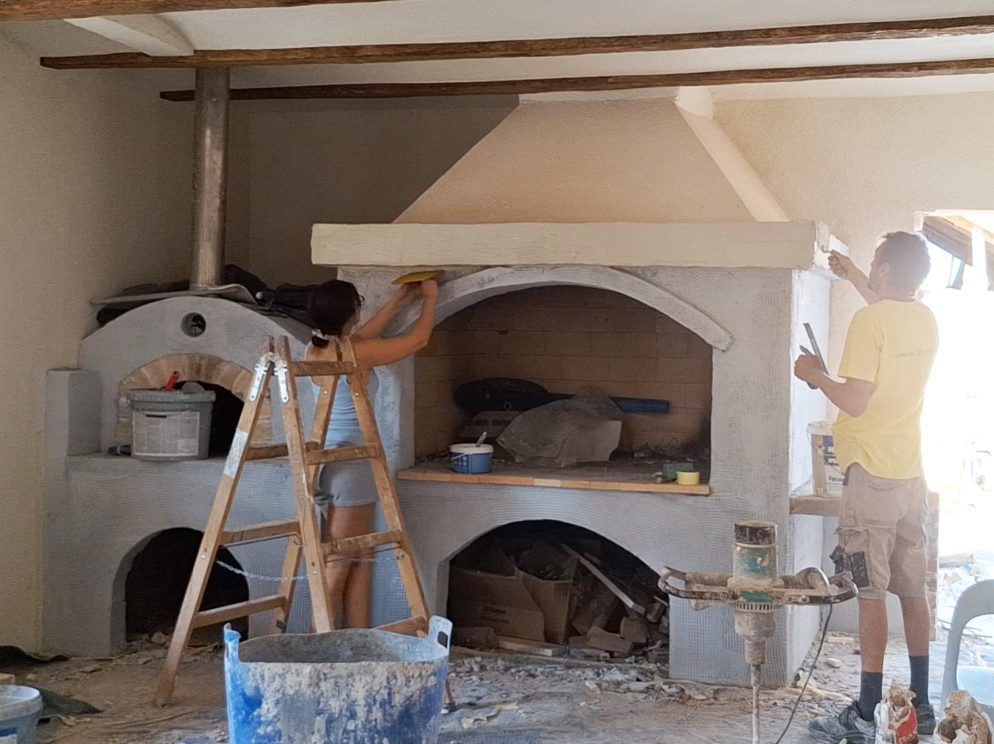
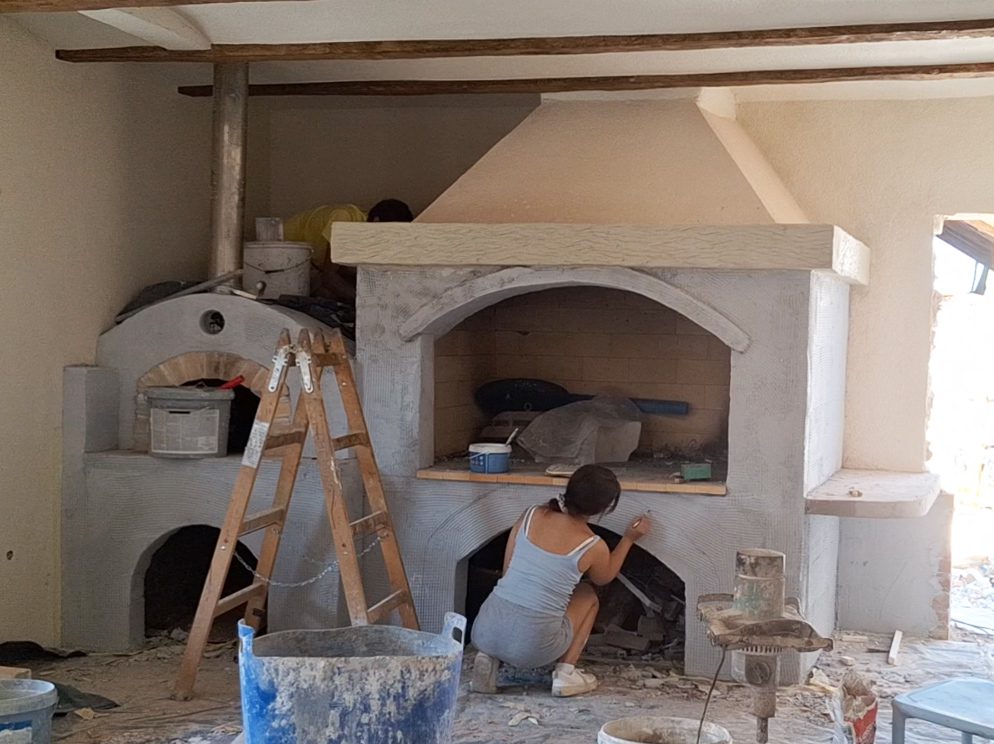
- If necessary, you can sketch how the stone will be arranged on the first layer of plaster.
4. Applying MixForm plaster (stone-rock-wood)
MixForm stone-rock-wood is applied when the first layer of plaster with mesh is completely dry (drying time is approximately one day at room temperature). It is mixed in a ratio of 5:1 plaster and water, and then it must stand for 10-15 minutes. When it has stood, it is mixed again and can be applied to the surface. The ideal thickness for creating authentic imitations of stone and wood is 3cm because then there is more material to process, it is easier to process and it looks more natural.
5. Texturing plaster with silicone rollers and stamps
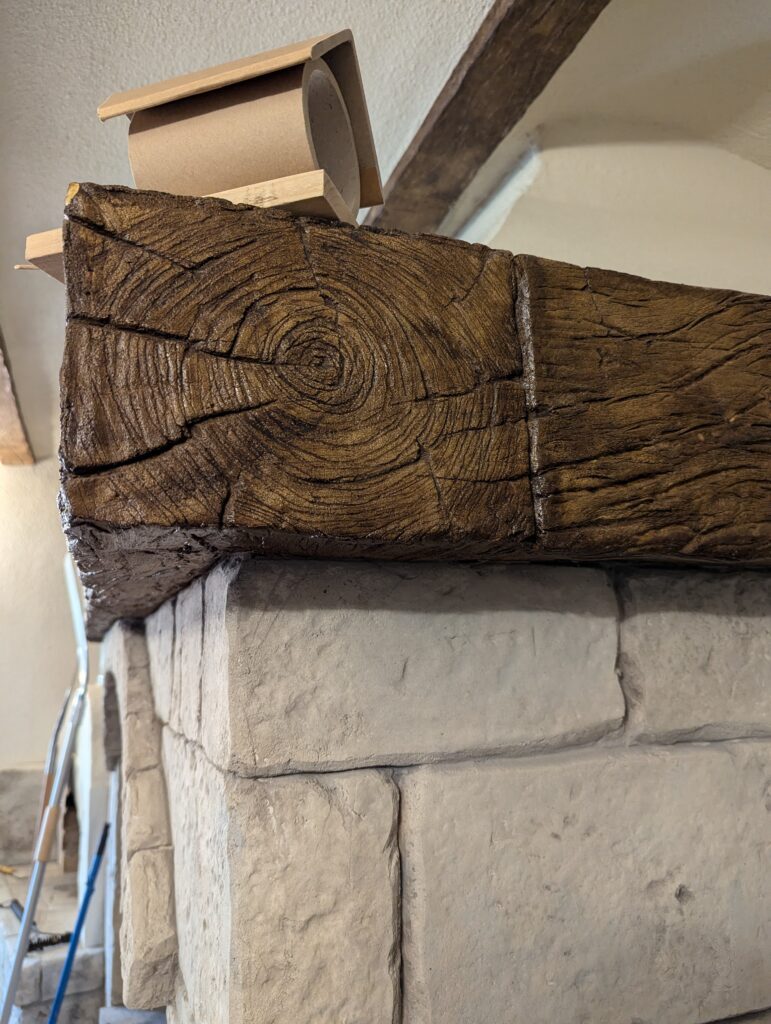
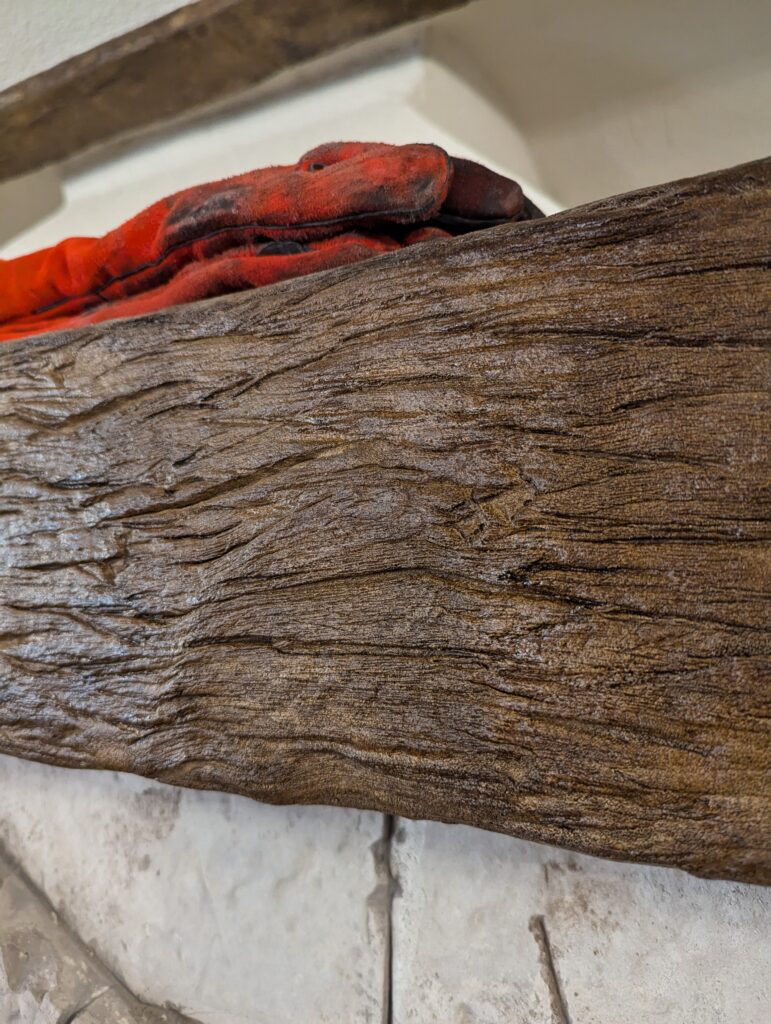
The plaster is then shaped using silicone rollers and stamps to create the texture of stone. In this case, an imitation wooden beam was added above the stove, so special stamps were used to create the wood texture.
6. Creating joints
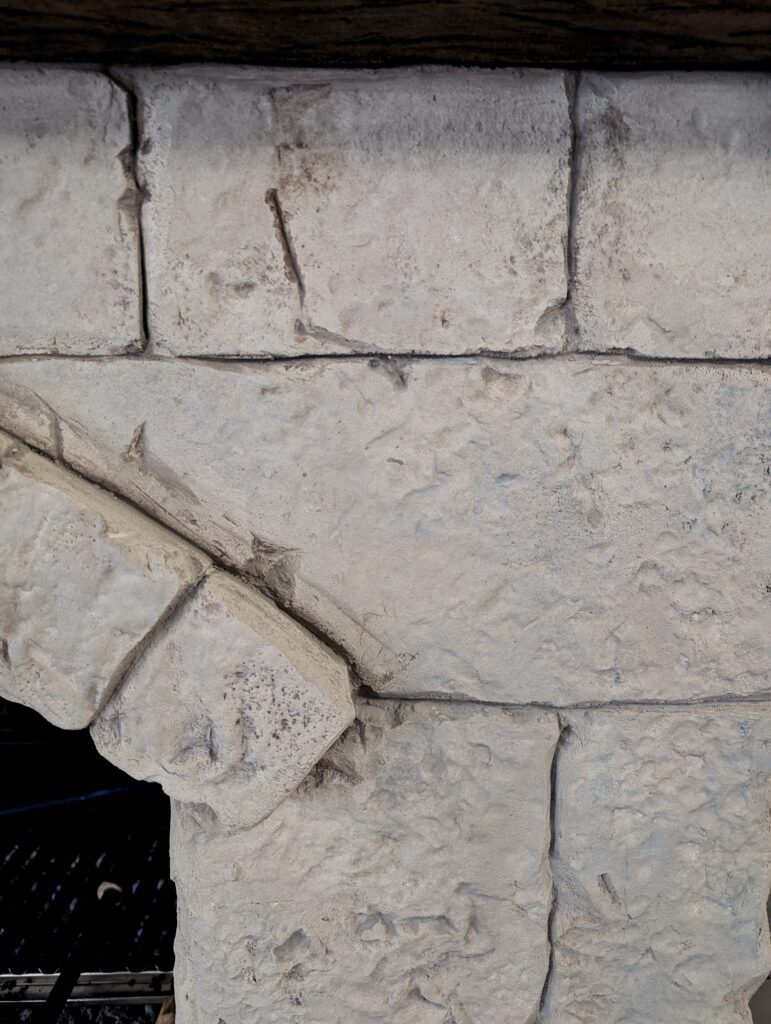
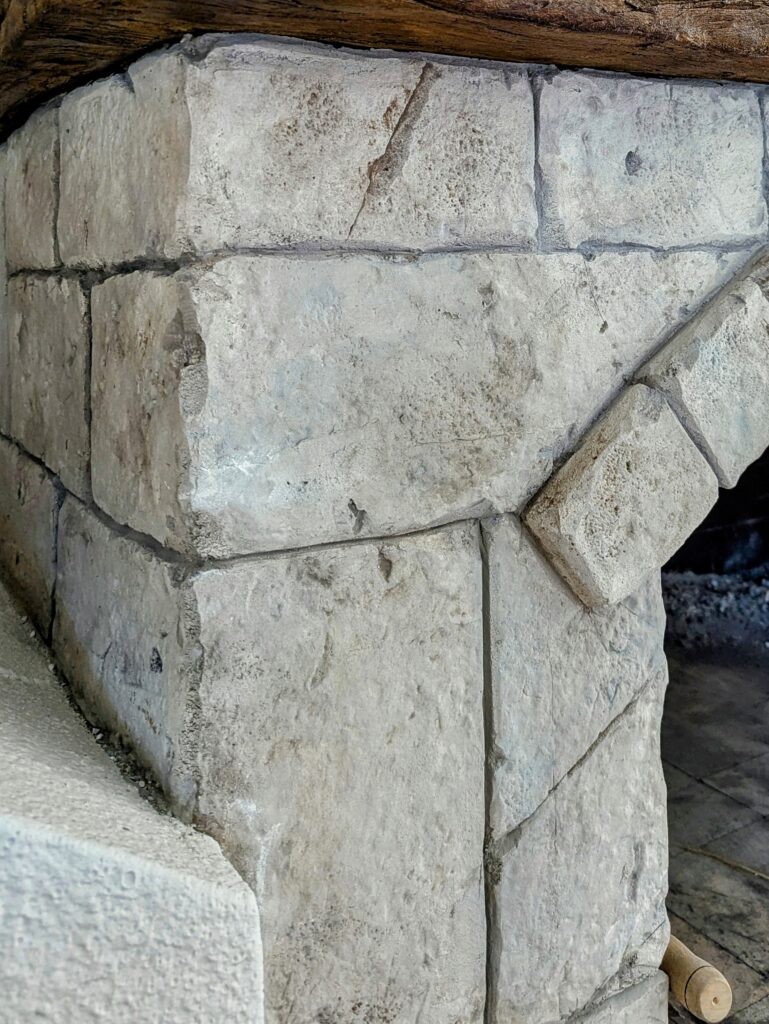
Once the mortar begins to harden, grouting becomes the next step. By measuring the dimensions of the stone with a spirit level and thin sticks, authentic joints are created between the “stone” blocks.
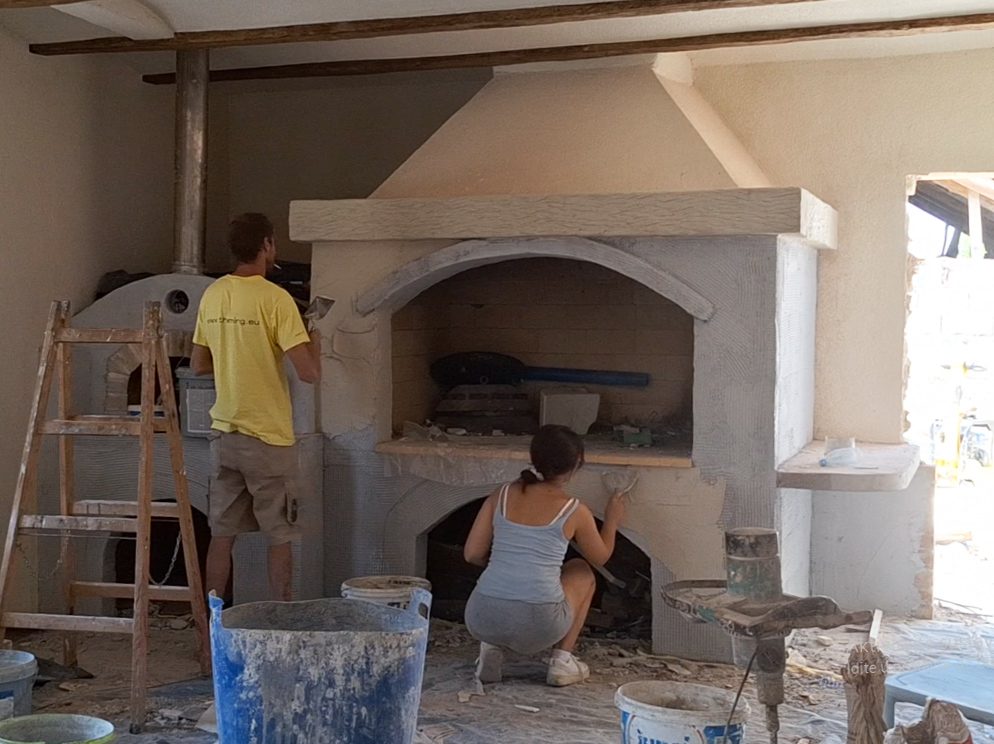
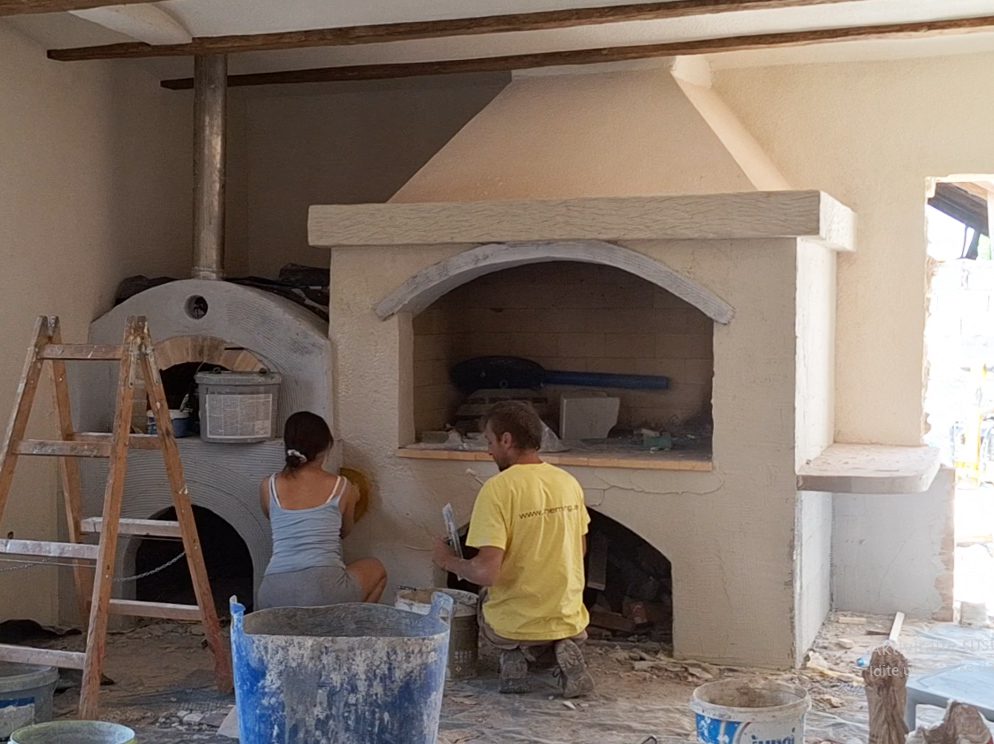
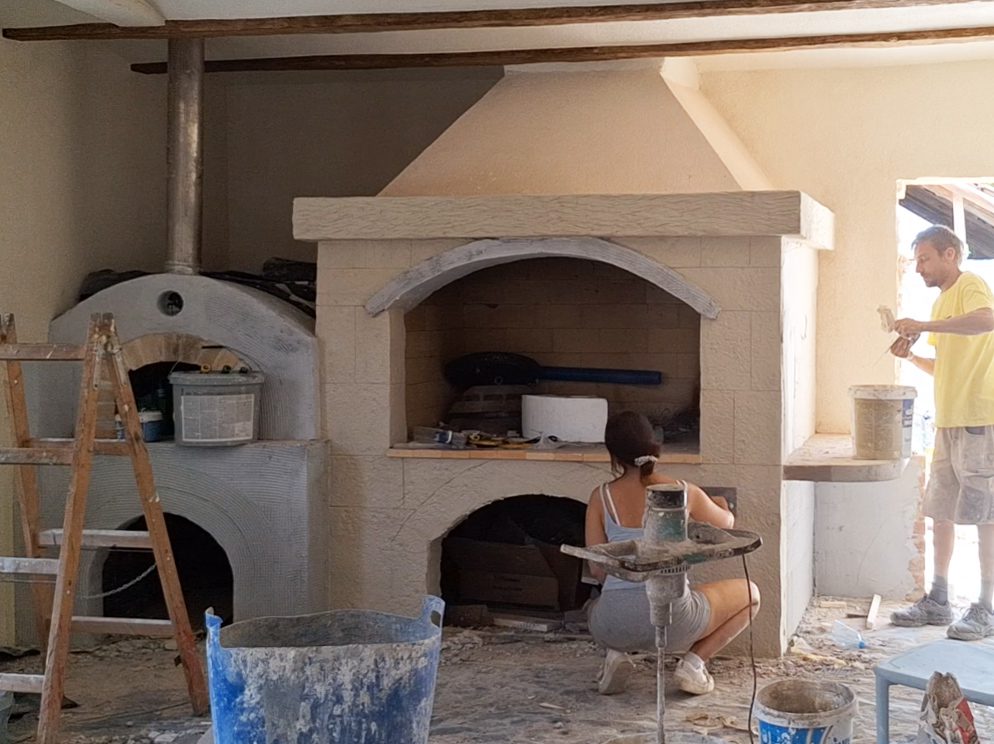
7. Additional formatting
Once the plaster has dried to around 60%, it can be further shaped using wood carving and stonemasonry tools. This step allows for finer detailing, and with special tools and light hammer blows, a stone texture is created.
8. Coloring
For wood: After the imitation wooden beam has completely dried (usually two days), it is painted with a wood stain. In this project, we used oak stain for a natural look, but the choice of color depends on the desired effect.
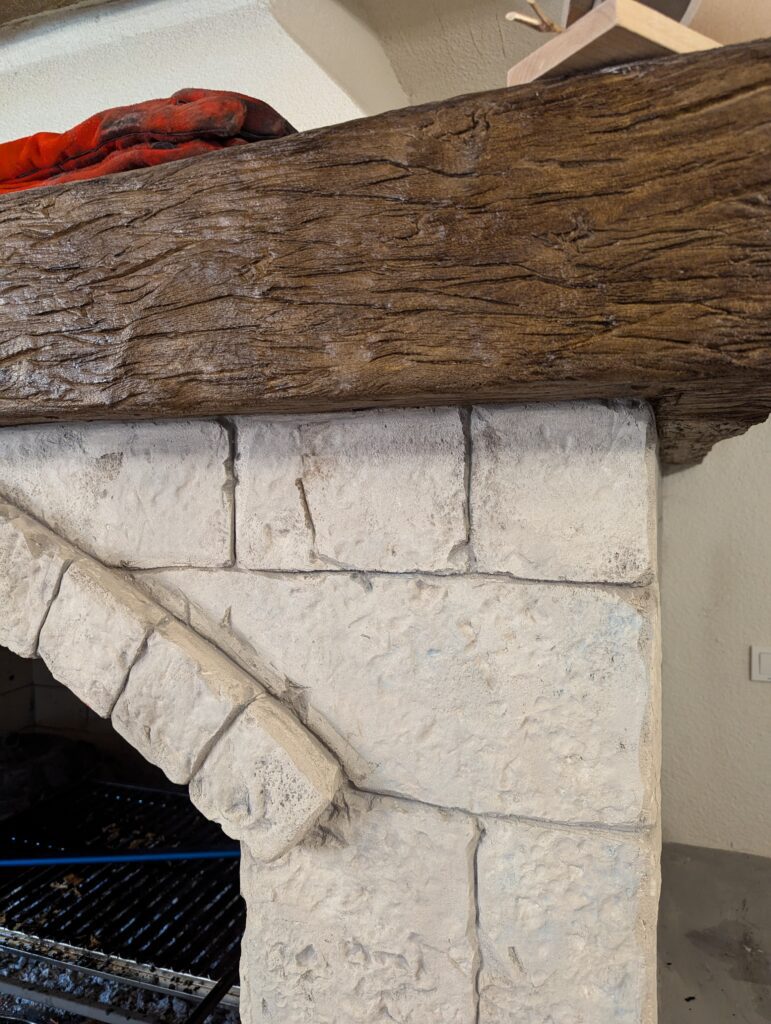
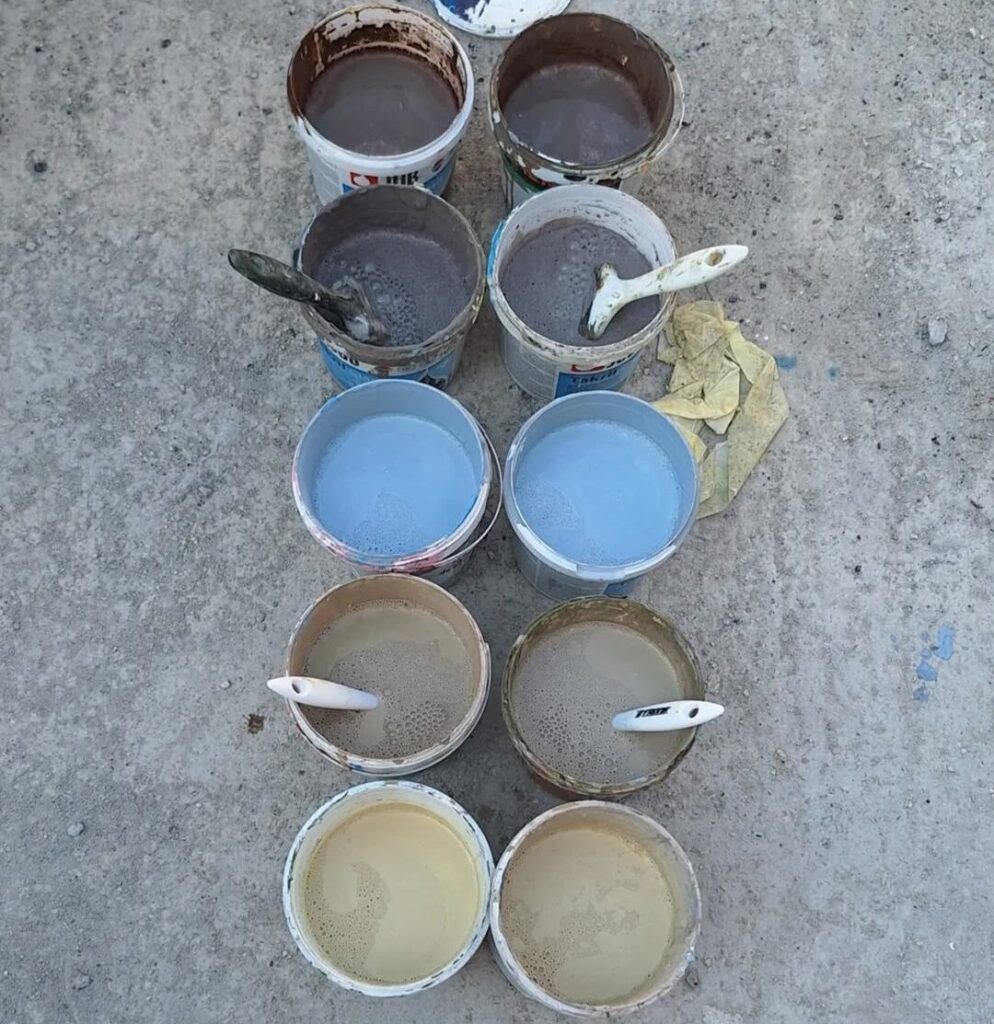
For the stone: The surface of the stone is painted with a mixture of several shades of acrylic paint, such as sandy gray, brown, and dark gray. The paints are diluted with water and wiped off with a wet cloth immediately after application. This process, known as patination, allows the paint to remain in the cracks and gives the stone a natural, aged appearance.


Responses